Updates
Settings → Updates shows which version of Core is installed, lets you update it, and summarizes disk use.
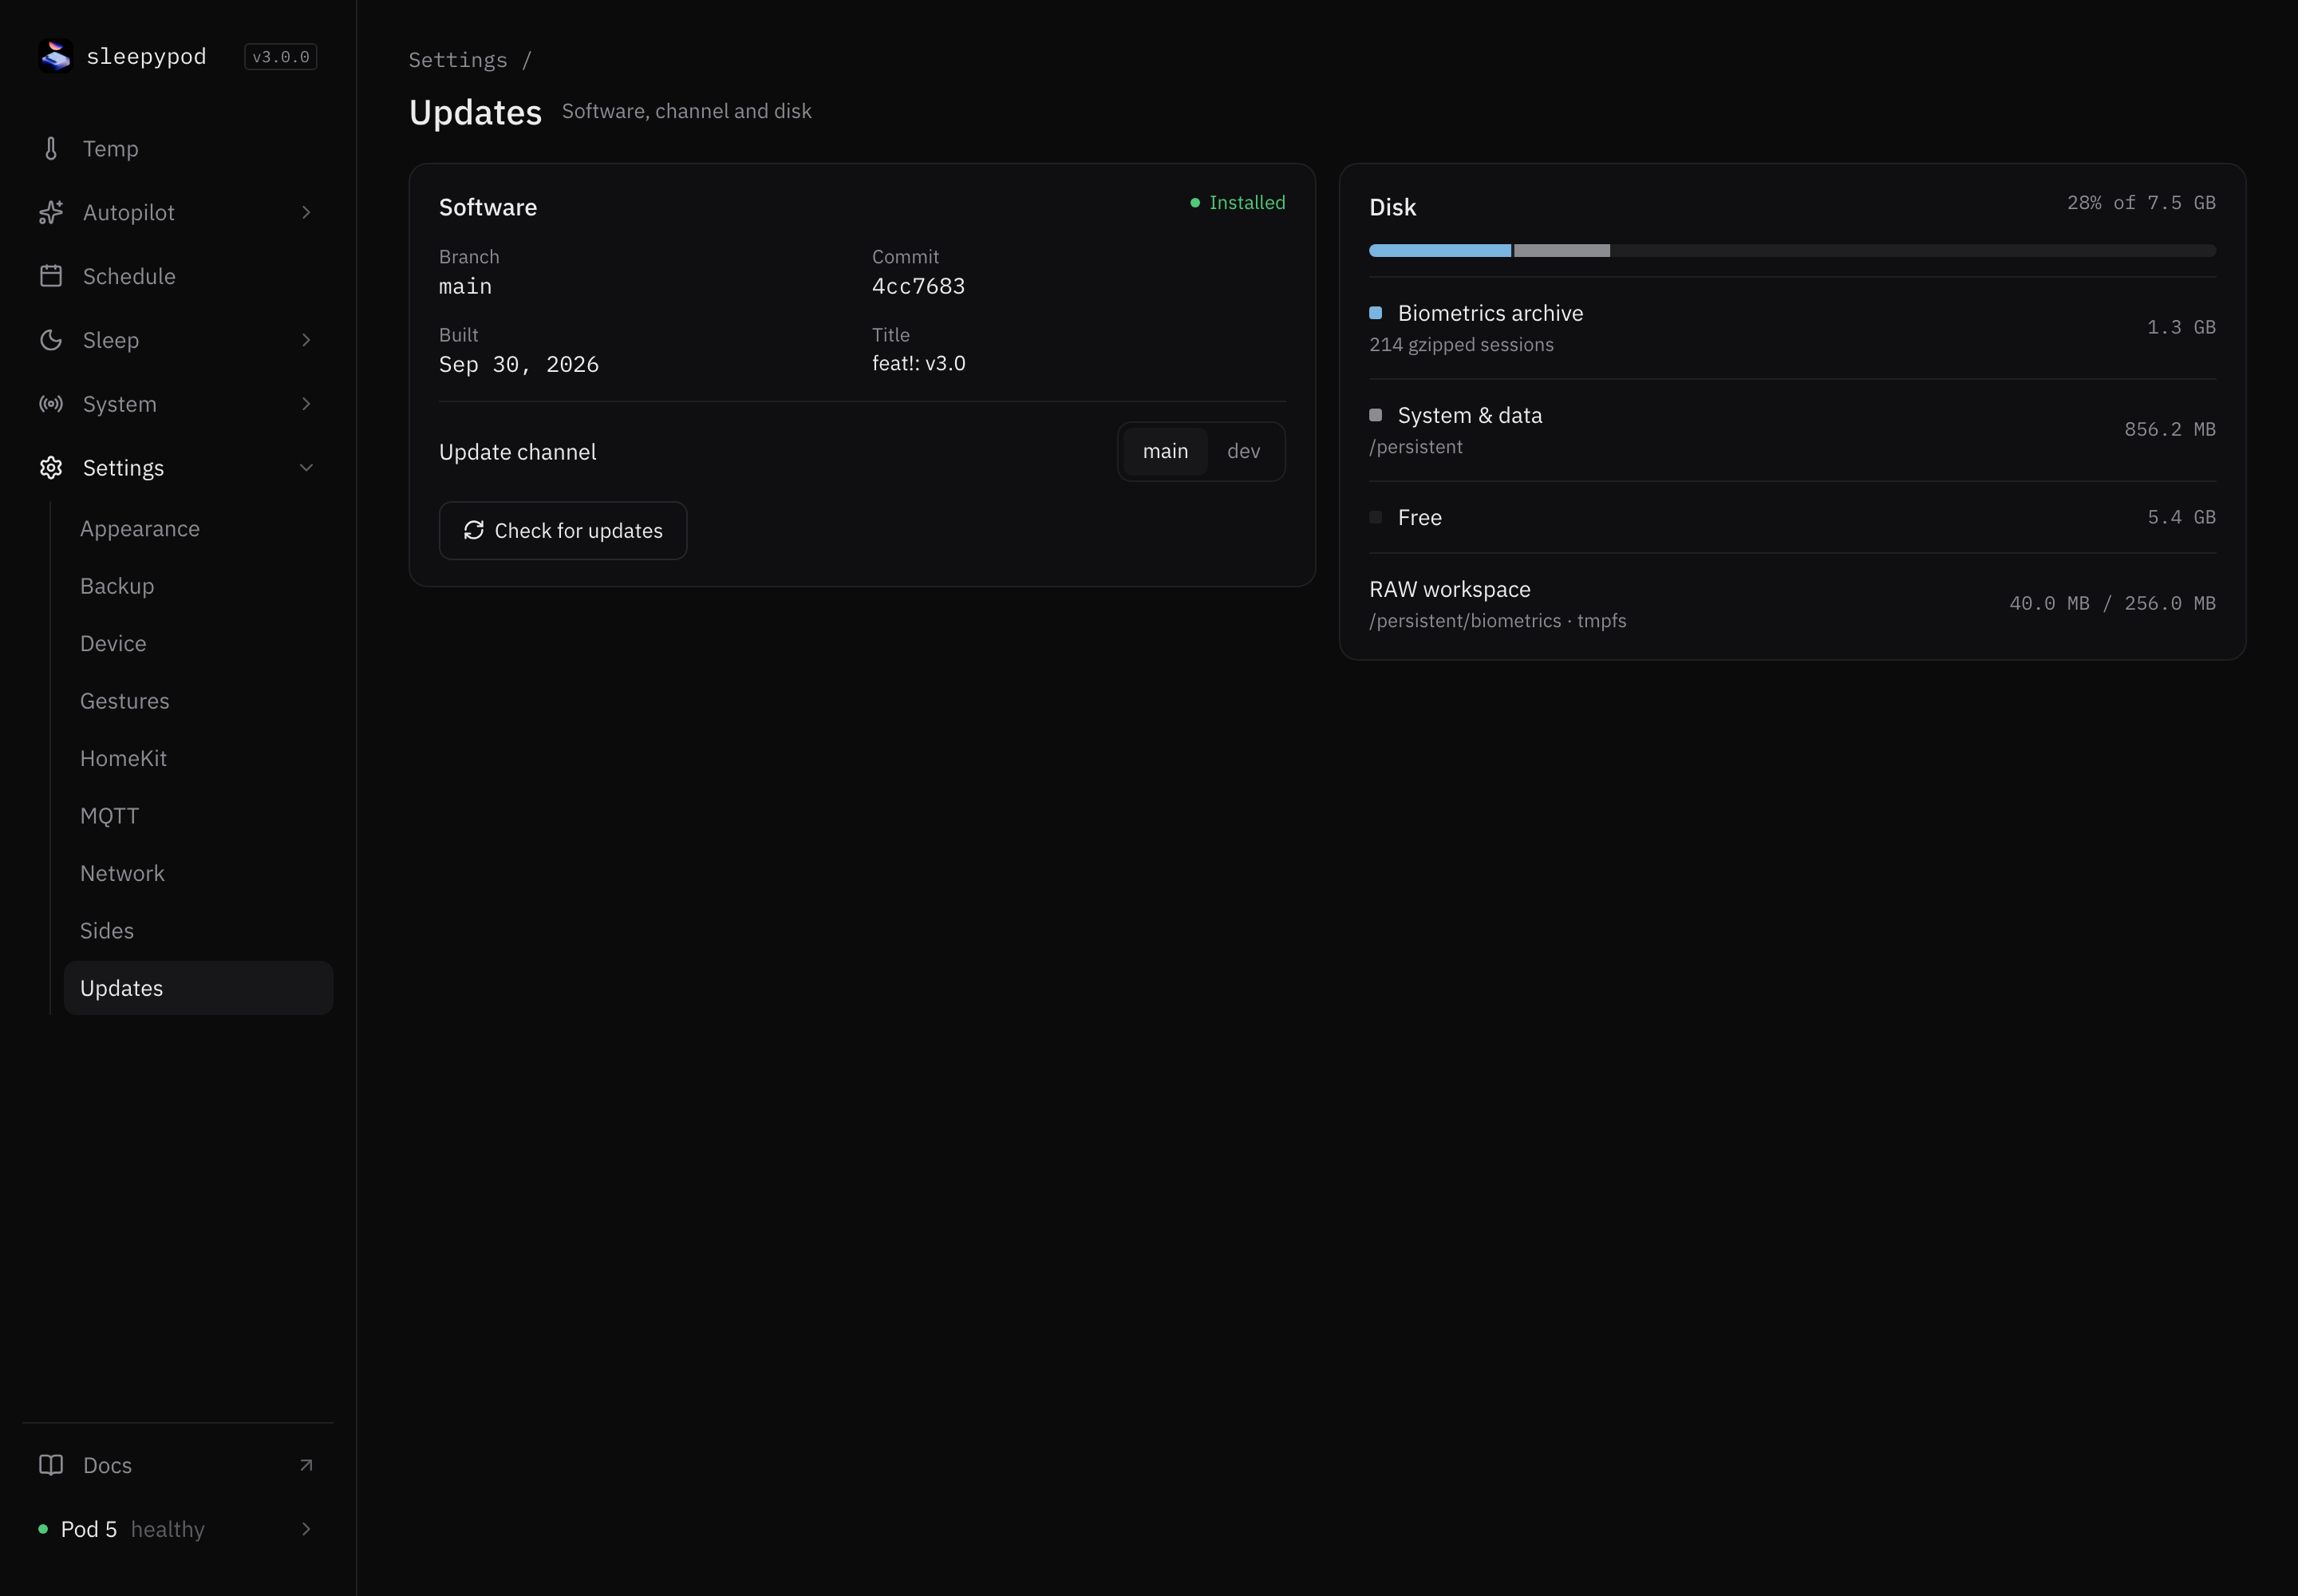
Software
The Software card shows the installed Branch, Commit, Built date, and commit Title. Include these when you report a problem.
Update channel chooses where updates come from:
- main: tested releases. Choose this unless you are helping test.
- dev: the newest changes, which may be less stable.
Update Core
- Select Check for updates, or choose a different channel.
- Read the confirmation. The Pod downloads the latest code for the channel, rebuilds, and restarts, so it is briefly unavailable.
- Select Confirm update.
- If internet access is blocked in Network, select Allow & update. Access is blocked again when the update finishes.
- Wait. The card shows Updating… and then Reconnecting… for up to about 3 minutes, then Installed.
If the Pod is on a branch other than main or dev, you are asked to choose a channel first.
If the card says Service did not come back after update, check the Pod directly; see troubleshooting. Retry update tries again.
After an update, check the new commit here, then look at the System dashboard for health, and at Sensors for fresh data. For SSH updates and recovery, see Install and update.
Disk
The Disk card shows how full the Pod’s storage is:
- Biometrics archive: compressed sensor sessions.
- System & data: everything else on
/persistent, including Core and its databases. - Free: space left.
- RAW workspace: the in-memory area where new sensor files are written before archiving.
To see what is using space and free some up, use System → Storage.
Source reference: Update card · Disk card